GHUnitSampleTest.m
#import "GHUnitSampleTest.h"
@implementation GHUnitSampleTest
- (void)testStrings
{
NSString *string1 = @"a string";
GHTestLog(@"I can log to the GHUnit test console: %@", string1);
// Assert string1 is not NULL, with no custom error description
GHAssertNotNULL(string1, nil);
// Assert equal objects, add custom error description
NSString *string2 = @"a string";
GHAssertEqualObjects(string1, string2, @"A custom error message. string1 should be equal to: %@.", string2);
}
@end
然后編譯運行,點擊 Run,效果如下:
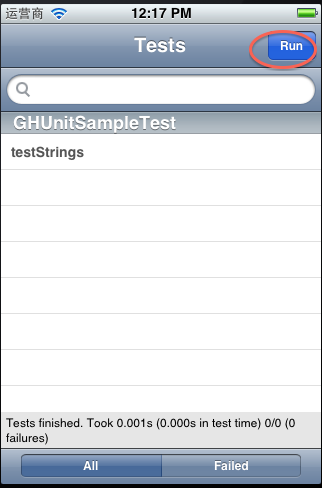
圖中的 All 欄顯示所以的測試,Failed 欄顯示沒有通過的測試。強大吧,GHUnit。你可以向 GHUnitSampleTest 添加新的測試,比如:
- (void)testSimpleFail
{
GHAssertTrue(NO, nil);
}